A WordPress free blog is an excellent way to share your ideas, hobbies, or expertise with the world without spending a dime. It offers a user-friendly platform where you can create and manage your blog effortlessly. WordPress powers 43.6% of all websites globally, with over 70 million new posts published every month. This popularity highlights its reliability and ease of use.
Creating your blog is simple.
You start by signing up for a free account, naming your blog, and selecting a subdomain. With just a few clicks, you can customize your design and publish your first post. Over 500 new websites are built daily using WordPress, proving how accessible and effective it is for beginners like you.
Step 1: Sign Up for a Free WordPress Account
Creating your WordPress free blog starts with signing up for an account. This step is simple and takes only a few minutes. Follow these instructions to get started.
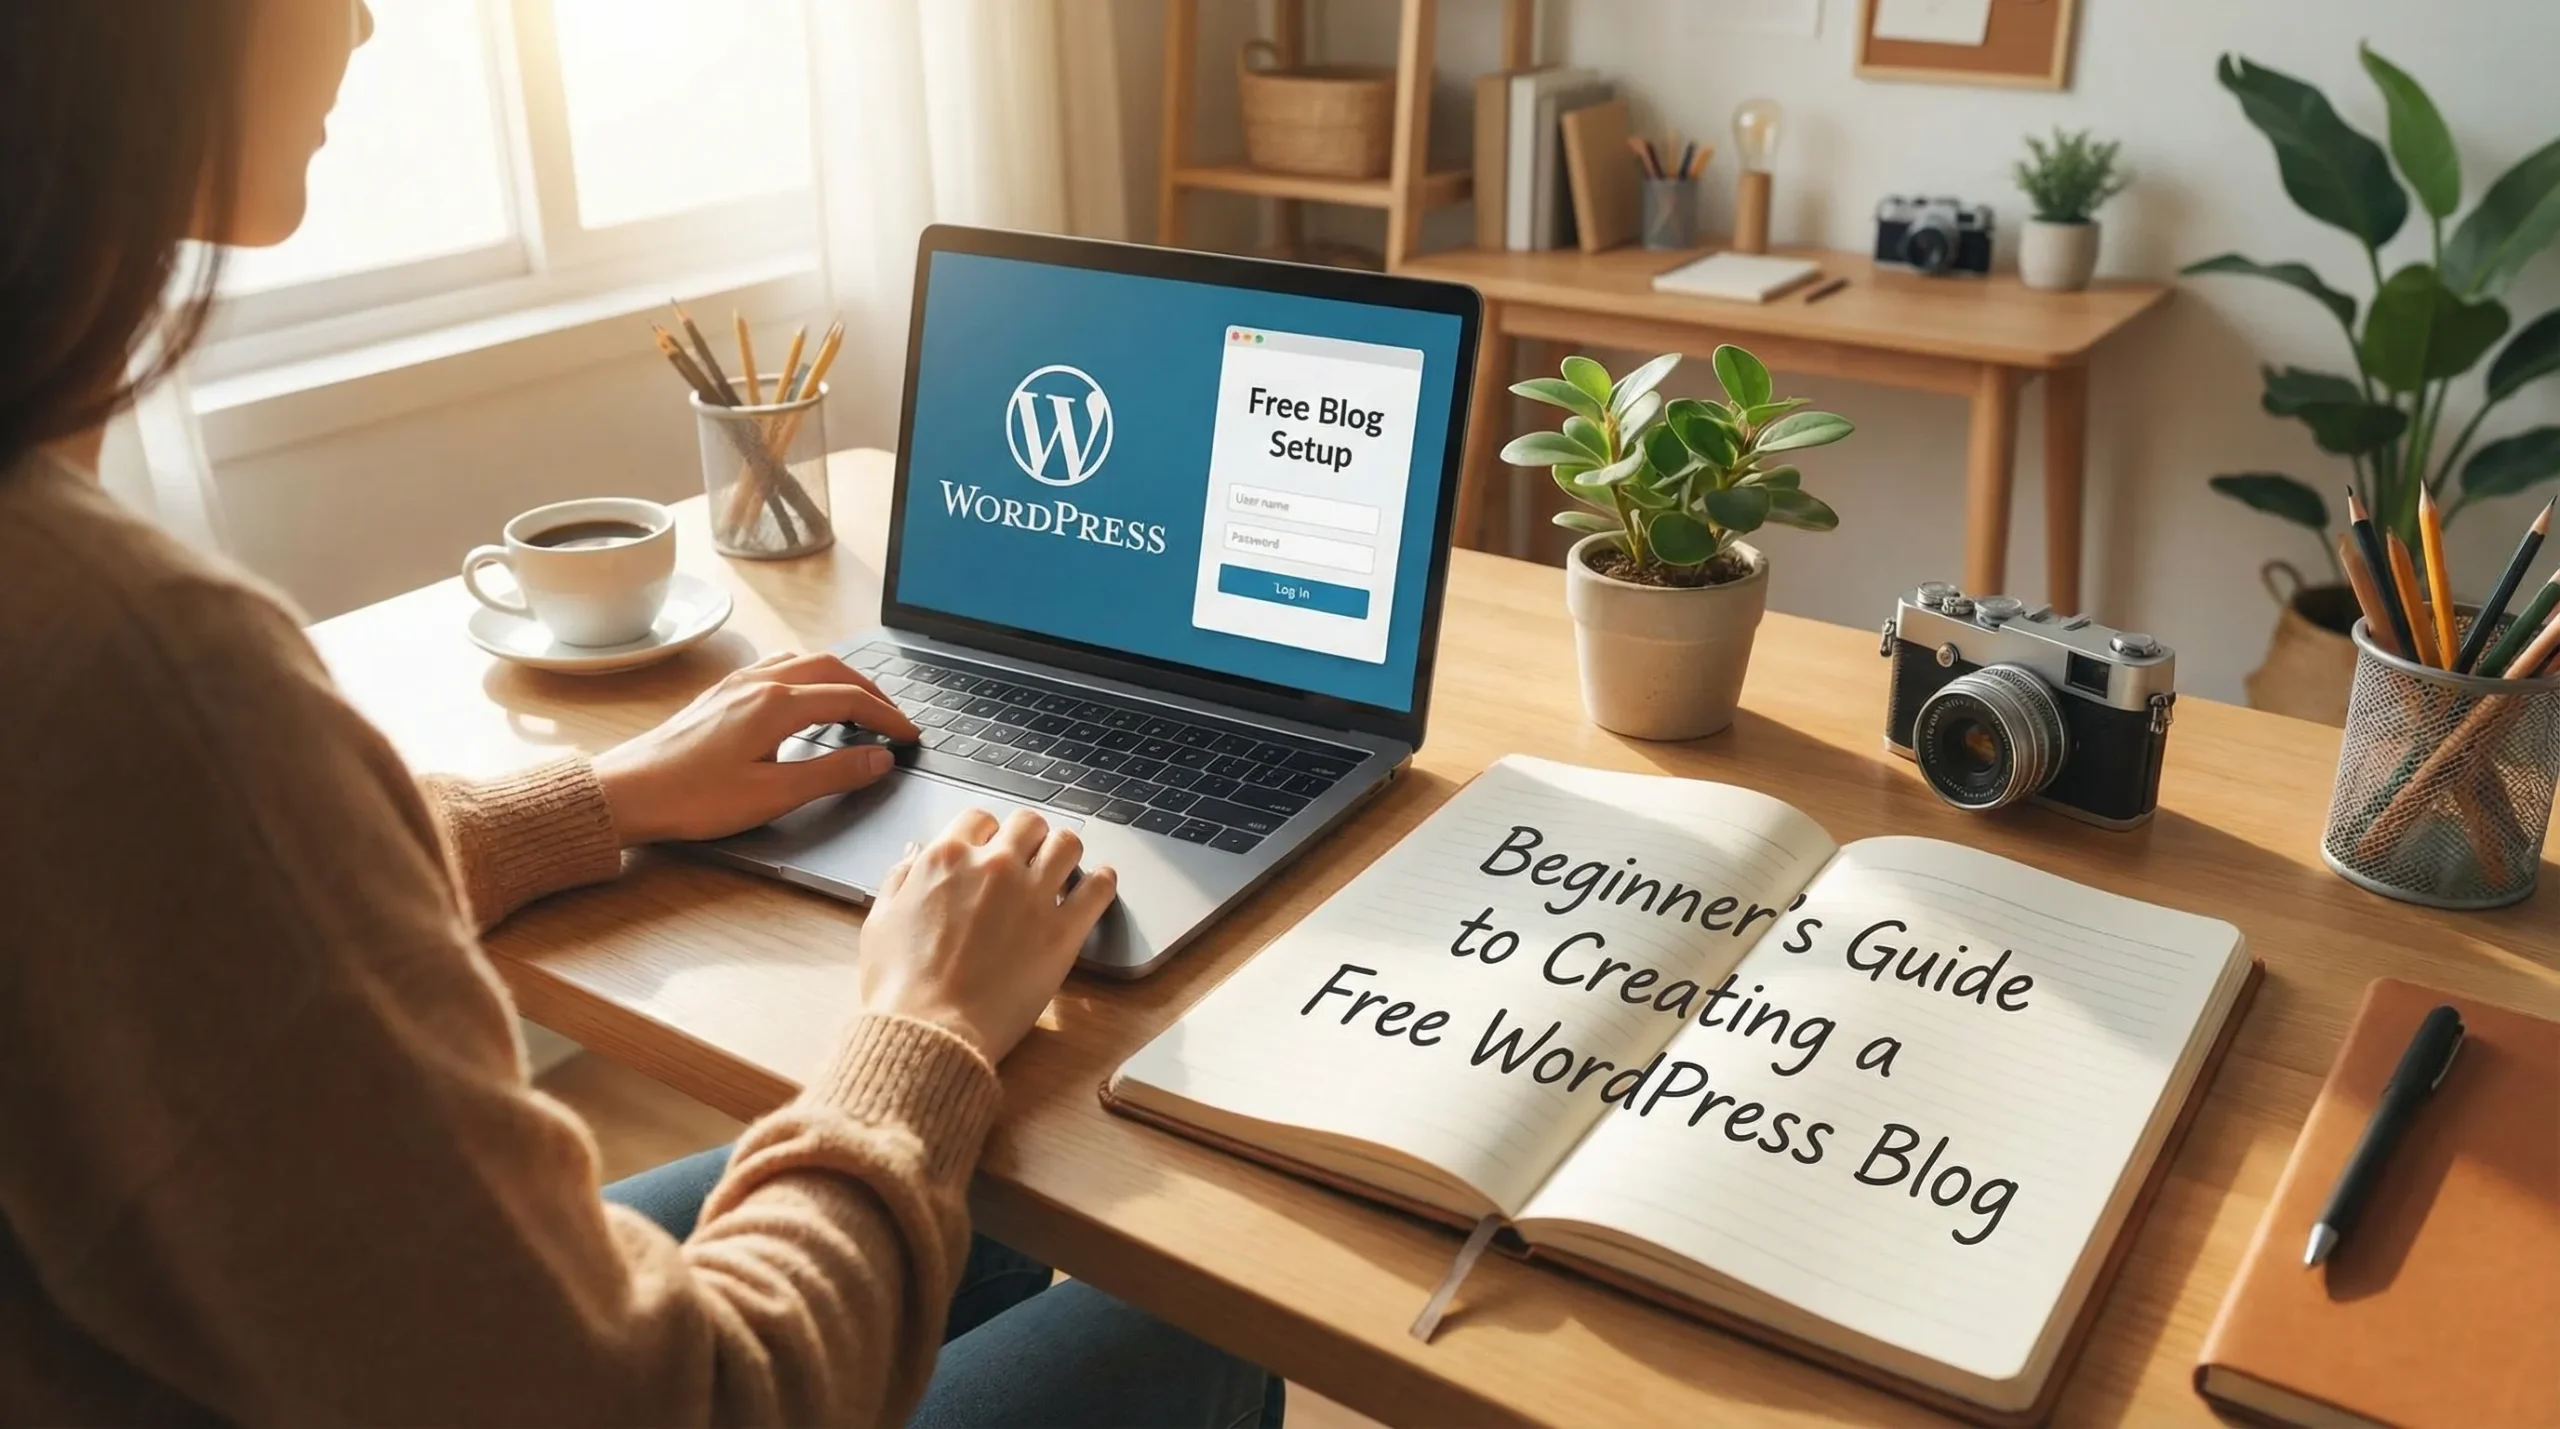
Create an account on WordPress.com
Visit WordPress.com and click the “Start your website” button. You will see a form asking for basic details like your email address, a username, and a password. Fill in these fields carefully. Choose a username that reflects your blog’s purpose or your personal brand. A strong password ensures your account stays secure.
Once you complete the form, click “Create your account.” WordPress will guide you through the next steps. If you already have a Google account, you can use it to sign up faster.
Choose the free plan
After creating your account, WordPress will ask you to select a plan. You will see several options, but the free plan is perfect for beginners. It includes all the essential features you need to start blogging. Select the free plan by clicking the corresponding button. This choice allows you to explore WordPress without any financial commitment.
Verify your email and log in
WordPress will send a verification email to the address you provided. Open your inbox and look for the email. Click the verification link to confirm your account. This step is crucial because it activates your account and ensures smooth access.
Once verified, return to WordPress.com and log in using your credentials. You are now ready to start building your blog!
Step 2: Set Up Your WordPress Free Blog
Name your blog
Choosing the right name for your blog is an important step. A good blog name helps readers understand your content and builds your online identity. Keep it simple and easy to remember. For example:
-
Use words that are easy to spell and pronounce.
-
Align the name with your blog’s purpose or brand message.
-
Think about your target audience and what they might search for.
If you’re starting a personal blog, consider using your name or a nickname. For niche blogs, focus on keywords related to your topic. For instance, a food blog could include words like “recipes” or “kitchen.” Taking time to brainstorm ensures your blog name resonates with your audience.
Choose a free subdomain
After naming your blog, you’ll select a free subdomain. A subdomain is the web address where readers will find your blog. For free WordPress blogs, your subdomain will look like this: yourblogname.wordpress.com. This format is perfect for beginners who want to start without investing in a custom domain. When choosing a subdomain, make it match your blog name as closely as possible. This consistency helps readers find your blog easily. Tools like Matomo can provide insights into visitor behavior, helping you optimize your subdomain for better traffic.
For example, Matomo’s heatmaps and session recordings can show how users interact with your site, giving you ideas to improve their experience.
Finalize the setup process
Once you’ve named your blog and chosen a subdomain, WordPress will guide you through the final steps. You’ll confirm your choices and complete the setup. The platform’s user-friendly interface makes this process straightforward. Many beginners find WordPress guides easy to follow, which reduces the stress of starting a blog.
After finalizing, you’ll land on your WordPress dashboard. This is your control center for managing your blog.
From here, you can start customizing your design, writing posts, and exploring features. Completing this step means your blog is officially live and ready for visitors!
Step 3: Customize Your WordPress Free Blog
Customizing your WordPress free blog allows you to create a unique and engaging space that reflects your personality or brand. This step involves selecting a theme, exploring the WordPress dashboard, and making basic design changes.
Select a free theme
Themes determine the overall look and feel of your blog. WordPress offers a vast library of nearly 13,000 free themes, providing plenty of options to suit your style and content. These themes are designed by a vibrant community, ensuring variety and quality. You can browse themes by category, such as business, personal, or portfolio, to find one that aligns with your blog’s purpose.
To select a theme, navigate to the “Appearance” section in your WordPress dashboard and click “Themes.” Preview different options to see how they look on your blog.
Once you find a theme you like, click “Activate” to apply it. Remember, you can always change your theme later if needed.
Tip: Choose a theme that is mobile-friendly and responsive. With over 50% of web traffic coming from mobile devices, a responsive design ensures your blog looks great on any screen size.
Use the WordPress dashboard
The WordPress dashboard is your control center for managing your blog. It provides tools to customize your site, write posts, and track performance. Plugins like MonsterInsights enhance the dashboard by displaying key metrics such as pageviews, bounce rates, and traffic trends.
These insights help you identify what works and make informed decisions to improve your blog.
Spend some time exploring the dashboard to familiarize yourself with its features. Key sections include “Posts” for creating content, “Media” for managing images, and “Settings” for adjusting site preferences. The intuitive layout makes it easy to navigate, even for beginners.
Make basic design changes (colors, fonts, layout)
Personalizing your blog’s design helps create a memorable experience for your readers. Start by adjusting colors, fonts, and layouts to match your theme. Use the “Customize” option in the dashboard to access these settings. Keep your design clean and consistent to enhance usability.
Here are some tips for effective design changes:
-
Simplify the interface: Avoid clutter and focus on essential elements.
-
Ensure consistency: Use the same fonts and colors throughout your blog.
-
Balance aesthetics and functionality: Prioritize readability and navigation.
|
Benefit |
Description |
|---|---|
|
Increased Engagement |
Personalized content keeps users engaged and encourages them to stay longer on the site. |
|
Improved Conversion Rates |
Tailored offers increase the likelihood of users taking action, such as making a purchase. |
|
Customer Loyalty |
Personalization makes customers feel valued, leading to repeat visits and positive referrals. |
|
Competitive Advantage |
Customizing content gives a unique edge over competitors using generic messaging. |
Taking the time to customize your WordPress free blog ensures it stands out and provides a better experience for your audience.
Step 4: Write and Publish Your First Blog Post
Navigate to the post editor
To start writing your first blog post, head to the WordPress dashboard. Locate the “Posts” section on the left-hand menu and click “Add New.” This action opens the post editor, where you can craft your content. The editor is intuitive, offering a blank canvas for your ideas. You’ll find tools for formatting text, adding media, and previewing your post before publishing.
Take a moment to explore the editor’s features. The toolbar at the top lets you adjust headings, insert links, and create lists.
On the right-hand side, you’ll see options to set categories, tags, and featured images. These elements help organize your content and make it more discoverable.
Tips for writing engaging content
Creating engaging content is key to attracting readers and keeping them interested. Start by choosing a topic that resonates with your audience. Use a conversational tone to make your writing relatable. Break your content into short paragraphs to improve readability.
Here are some proven strategies for crafting compelling blog posts:
-
Use visuals: Blogs with images and videos receive 83% more traffic than text-only posts.
-
Focus on quality: High-quality content is the top factor for running a successful blog.
-
Write longer posts: Bloggers who spend over six hours on a post often achieve better results.
-
Update older content: Refreshing posts can increase engagement by 45%.
|
Statistic |
Insight |
|---|---|
|
Posts with more than 7 images |
116% more organic traffic |
|
Average time spent writing a post |
4.5 hours |
|
Engagement increase with videos |
83% more traffic |
|
Companies with active blogs |
97% more backlinks |
Add images and format your post
Adding visuals and proper formatting enhances your blog’s appeal. Images clarify complex ideas and make your content more engaging. Choose high-quality, relevant visuals that align with your topic. For example, if you’re writing a recipe blog, include step-by-step photos of the cooking process.
Use the formatting tools in the post editor to organize your content. Bold headings, bullet points, and numbered lists improve readability.
Proper formatting also helps search engines understand your content, boosting your blog’s visibility.
Taking time to format your post and include visuals ensures your WordPress free blog stands out.
Readers will appreciate the effort, and you’ll see better engagement over time.
Step 5: Add Essential Plugins to Your WordPress Free Blog
Plugins are powerful tools that enhance your WordPress free blog by adding features and improving functionality. They simplify complex tasks, making it easier for you to manage your blog effectively.
What are plugins, and why are they important?
Plugins are small software add-ons that expand your blog’s capabilities. They allow you to add features like SEO optimization, spam protection, and social media integration without needing technical expertise. For example, a plugin can help you schedule posts, filter spam comments, or even track your blog’s performance.
Here’s how plugins can benefit your blog:
|
Feature |
Benefit |
|---|---|
|
Enhances visibility and ranking |
Improves search engine performance without complex setup |
|
Adds structured data |
Boosts content appearance in search results, aiding SEO and click-through rates |
|
Social media auto-sharing |
Increases content reach and promotion |
|
Spam filtering |
Maintains a clean and trustworthy blog environment |
Using plugins ensures your blog remains functional, secure, and user-friendly.
Beginner-friendly plugins for SEO, security, and functionality
With over 55,000 plugins available in the WordPress Plugin Directory, choosing the right ones can feel overwhelming. Start with these beginner-friendly options:
-
Yoast SEO: Helps optimize your blog for search engines, improving visibility.
-
Akismet: Blocks spam comments, ensuring a clean comment section.
-
Jetpack: Offers tools for marketing, design, and security.
-
Wordfence Security: Protects your blog with a firewall and regular security updates.
-
Contact Form 7: Simplifies creating contact forms for your readers.
These plugins are popular for a reason. For instance, Yoast SEO has been downloaded over 176 million times, while Akismet catches 5 million spam comments every hour.
How to install and activate plugins
Installing plugins on your WordPress free blog is straightforward. Follow these steps:
-
Go to the Plugins » Add New Plugin page in your WordPress admin area.
-
Search for the plugin you need by typing its name or functionality.
-
Click the Install Now button next to the plugin.
-
Once installed, click Activate to enable it.
For paid plugins, download the plugin zip file and upload it via the Upload Plugin option. Alternatively, you can manually upload plugins using an FTP client. Once activated, the plugin will appear in your dashboard, ready to use.
Adding essential plugins ensures your blog operates smoothly and provides a better experience for your readers.
Step 6: Promote Your WordPress Free Blog
Promoting your WordPress free blog is essential to attract readers and grow your audience. With millions of blogs published monthly, standing out requires strategic effort.
Here’s how you can effectively promote your blog.
Share your blog on social media platforms
Social media is a powerful tool for driving traffic to your blog. Platforms like Facebook, Twitter, Instagram, and Pinterest allow you to reach a wide audience. Tailor your posts to suit each platform’s style. For instance, use eye-catching visuals for Instagram and concise, engaging captions for Twitter. Sharing your blog on multiple platforms increases visibility and engagement.
-
95.9% of bloggers promote their posts on social media.
-
66% of marketers include blogs in their social media strategies.
-
Blog posts with fewer than 500 words are less likely to be shared on social media.
To maximize impact, schedule posts during peak activity times and use hashtags relevant to your niche. Visual-centric platforms like Pinterest can be especially effective for blogs with strong imagery, such as food or travel blogs.
Engage with your audience through comments
Interacting with your readers builds a loyal community around your blog. Responding to comments shows that you value their input, encouraging them to return. Engagement also boosts your blog’s visibility, as search engines favor content with active user interaction. Key engagement metrics include comments, social shares, and time spent on your blog. Visitors who feel connected to your content are more likely to share it, increasing your reach.
For example, blogs with high engagement often rank better in search results, attracting even more readers.
Encourage comments by asking questions at the end of your posts. For instance, if you’re writing about recipes, ask readers to share their favorite variations. This approach fosters a sense of community and keeps your audience involved.
Use free tools to track and grow your blog’s audience
Tracking your blog’s performance helps you understand what works and what doesn’t. Free tools like Google Analytics provide insights into visitor behavior, including sessions, bounce rates, and average time spent on your blog.
These metrics guide your content strategy, helping you create posts that resonate with your audience.
|
Metric |
Description |
|---|---|
|
Sessions |
Total visits to your blog |
|
Users |
Unique visitors |
|
Pageviews |
Total pages viewed |
|
Bounce Rate |
Percentage of visitors leaving quickly |
|
Average Session Duration |
Time spent on your blog per visit |
Regularly analyzing these metrics helps you identify popular topics and improve underperforming content. For example, if a post has a high bounce rate, consider revising its headline or adding visuals to make it more engaging. Using these tools ensures your WordPress free blog continues to grow and attract readers.
Promoting your blog effectively requires consistent effort. By sharing on social media, engaging with your audience, and leveraging free tools, you can build a thriving blog that reaches a wider audience.
Creating a WordPress free blog is an exciting journey that starts with simple steps. You’ve learned how to sign up, set up your blog, customize its design, and publish your first post. Adding plugins and promoting your content ensures your blog grows and reaches the right audience. Blogging offers a platform to share your voice, connect with others, and even explore new opportunities.
Start your blog today and unlock the potential to inspire, educate, or entertain readers worldwide. Your ideas deserve to be heard!
FAQ
What is the difference between WordPress.com and WordPress.org?
WordPress.com hosts your blog for free, while WordPress.org requires you to host it yourself. The free version of WordPress.com has limitations, such as fewer customization options. WordPress.org offers more flexibility but involves additional costs for hosting and domain registration.
Can I monetize a free WordPress blog?
Yes, but options are limited. You can use affiliate links or sponsored posts. However, WordPress.com’s free plan does not allow ads through programs like Google AdSense. Upgrading to a paid plan unlocks more monetization features.
How much storage does a free WordPress blog provide?
The free plan includes 1 GB of storage for media files like images and videos. This is sufficient for beginners. To increase storage, you can upgrade to a paid plan, which offers more space and additional features.
Is it possible to switch from a free plan to a paid plan later?
Yes, you can upgrade at any time. WordPress.com allows you to move to a paid plan without losing your content. Paid plans provide benefits like custom domains, advanced themes, and monetization tools.
Do I need coding skills to manage a WordPress free blog?
No, WordPress is beginner-friendly and does not require coding knowledge. The platform provides a drag-and-drop editor, pre-designed themes, and plugins to simplify customization. Advanced users can add custom code, but it is optional.